I've been wanting to make a Pee Wee's playhouse miniature for some time now. I thought Jambi the Genie would be fun so I grabbed a chunk of clay and started molding! I still need to create his setting but hopefully in another week it will be complete and in my shop! Thank you for your visit!
:* Razz
:* Razz
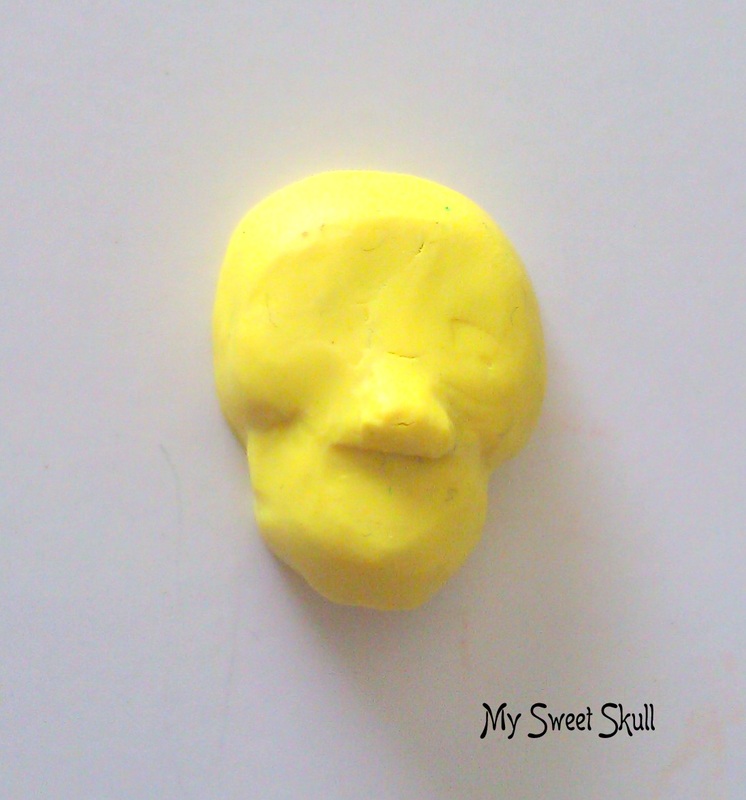 Starting the shape of his head |  Carving facial expression |
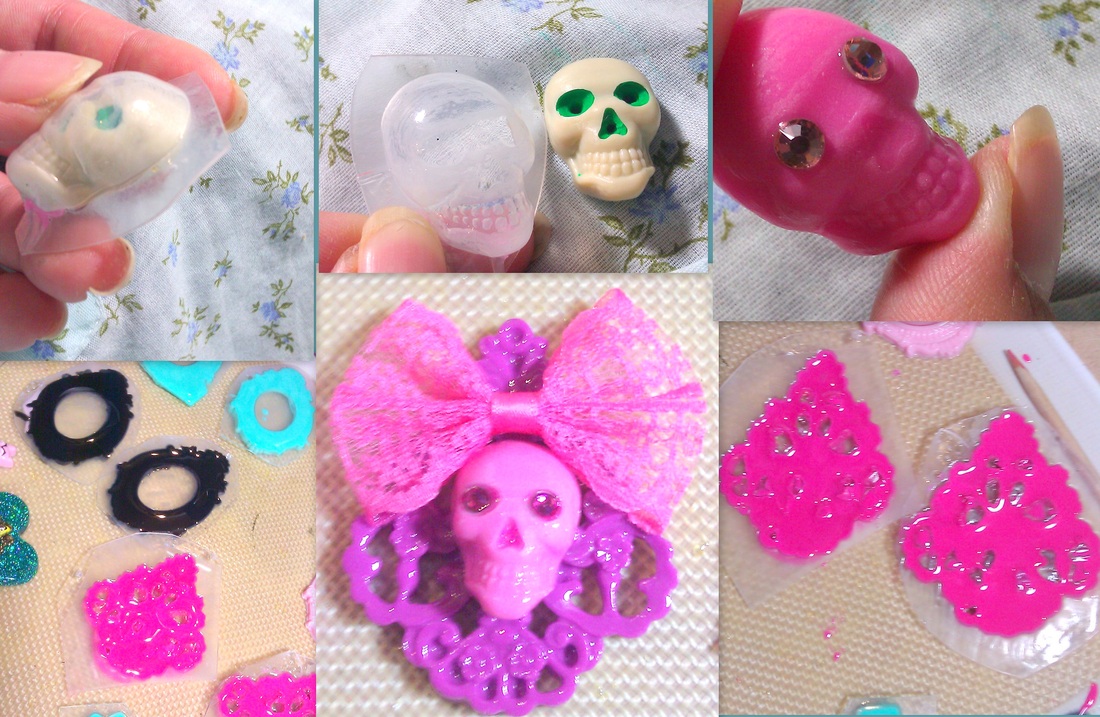
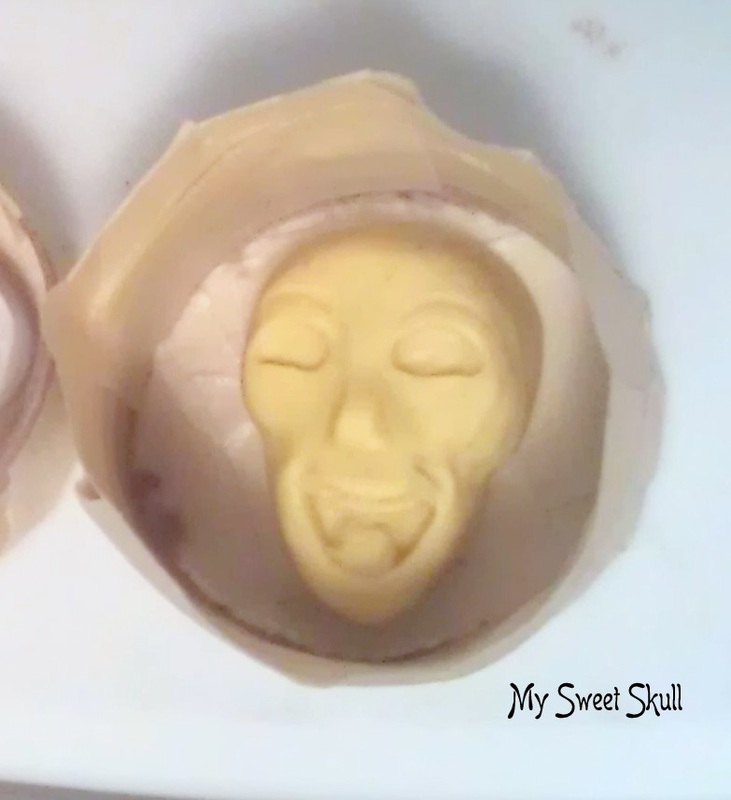 After I cooked my clay Jambi head, I put it in a trimmed toilet paper roll. I will make a mold so that I can create replicas. | 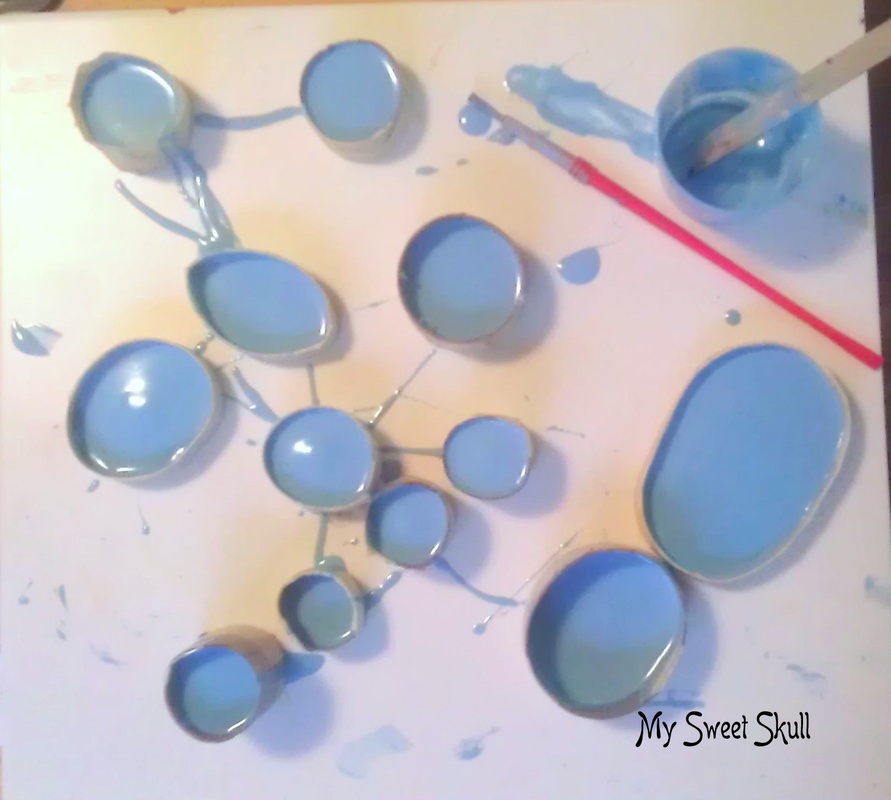 I needed to make a lot of molds for other sculpting I was working on. |
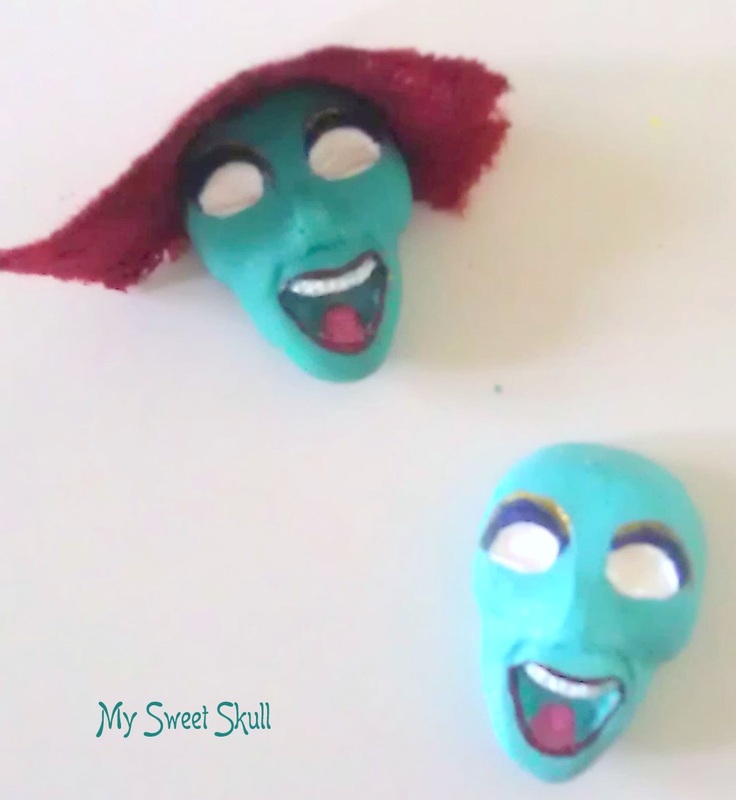 After I made a replica, I painted on a little Jambi face! | 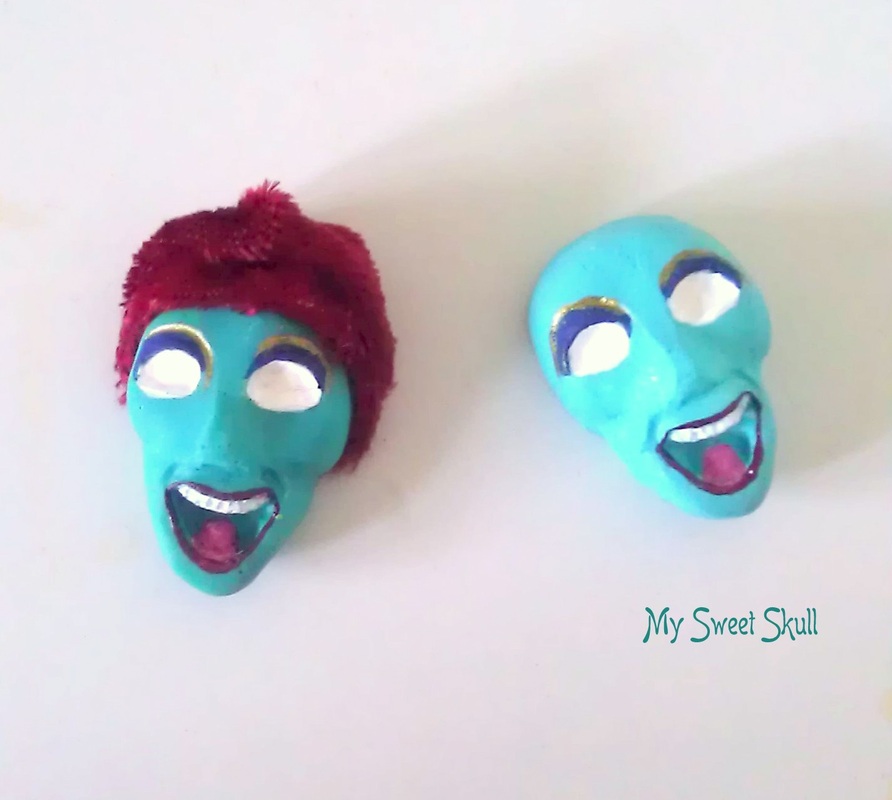 I wrapped a tiny turban over his head and now it needs some detail. |
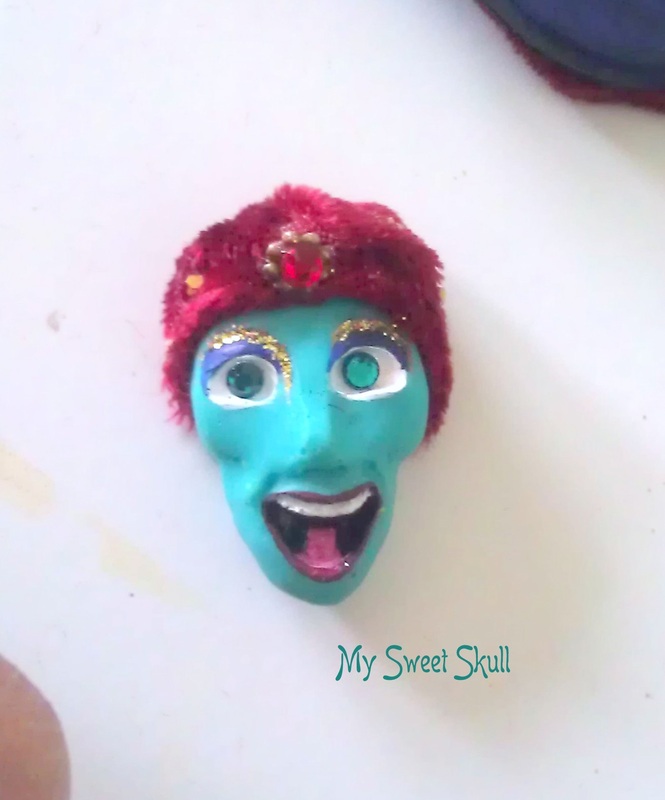 I added some detail to Jambi the Genie s turban, and swarovski teal crystals for his eyes. But I am not sure I like the color yet. . . | 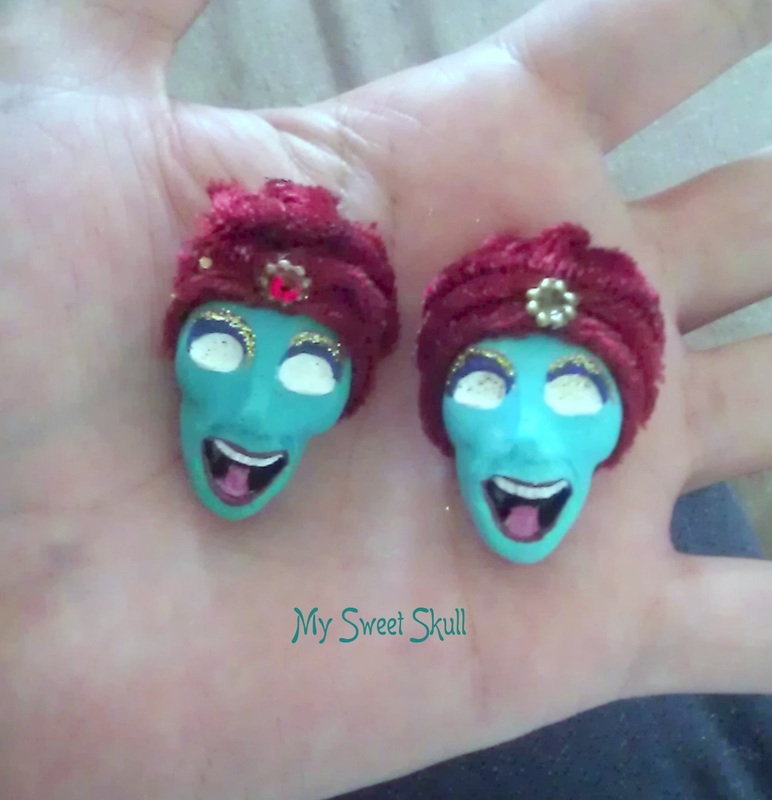 Eyeless Jambi! |
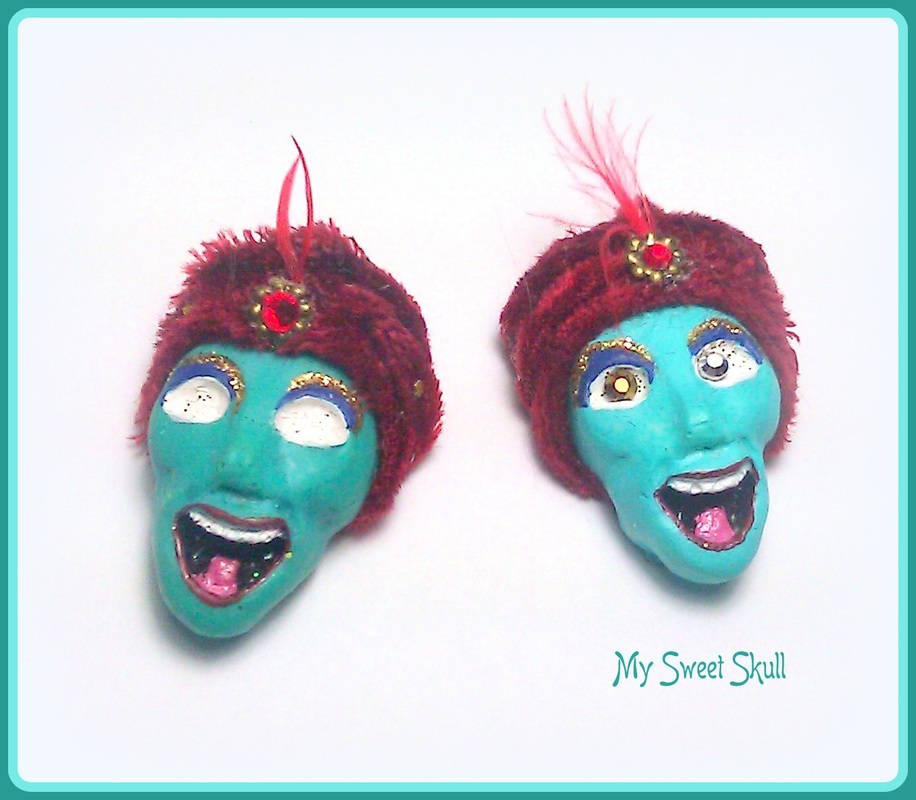 One gold eye, one silver eye. I might go with the gold. | Completed! I made his setting deep purple just like his box from the show. :) 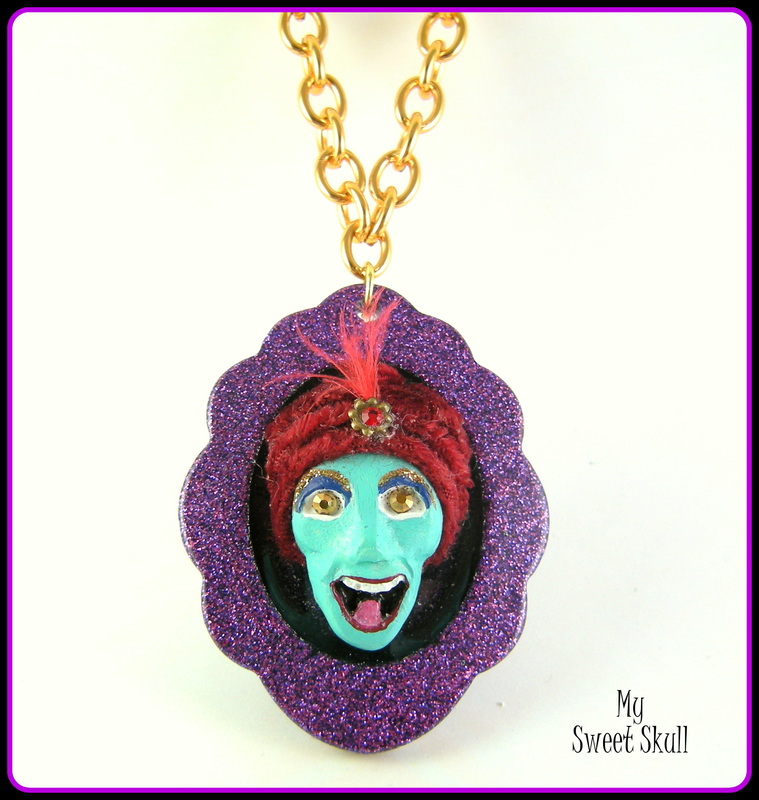 |

 RSS Feed
