♥ Stalk Me ♥
MY SWEET SKULL
  • WELCOME
  • COLLECTIONS
    • SUGAR COATED
    • KITTY LOVE
    • DAY OF THE DEAD
    • FIRST YEAR >
      • CLAY CREATIONS
  • RAZZ ACE
    • LINKS
    • TUTORIALS
  • BLABLA BLOG
    • BLOGGER
  • SHIPPING
    • ONE LUV ♥
  • HOLLA!
  • EXTERNAL LINKS

Sea Treasures - In The Making

9/21/2012

0 Comments

 
  I have a favorite artist. Her name is Jane Wynn. Years ago on one my my Borders Book Store visits, I ran into her book. Now, let e tell you that I would frequent these book stores and spend several hours going through craft books, trying to get inspired. Beading and Cook books used to be my fave. Anyway, I ran into her book called Altered Curiosities. It was lightning of info going through my brain! I skimmed through the pages and knew it was the book I had to leave with. Here is here LINK to visit her shop. Your welcome.

My Octopus necklace is inspired from her creation process shown in her book.  Still different, but you can see how she's helped me put this together.
 These are not thorough instructions. It is just a simple way of saying what I did. Buy Jane's book for a better understanding of how to create your own look.


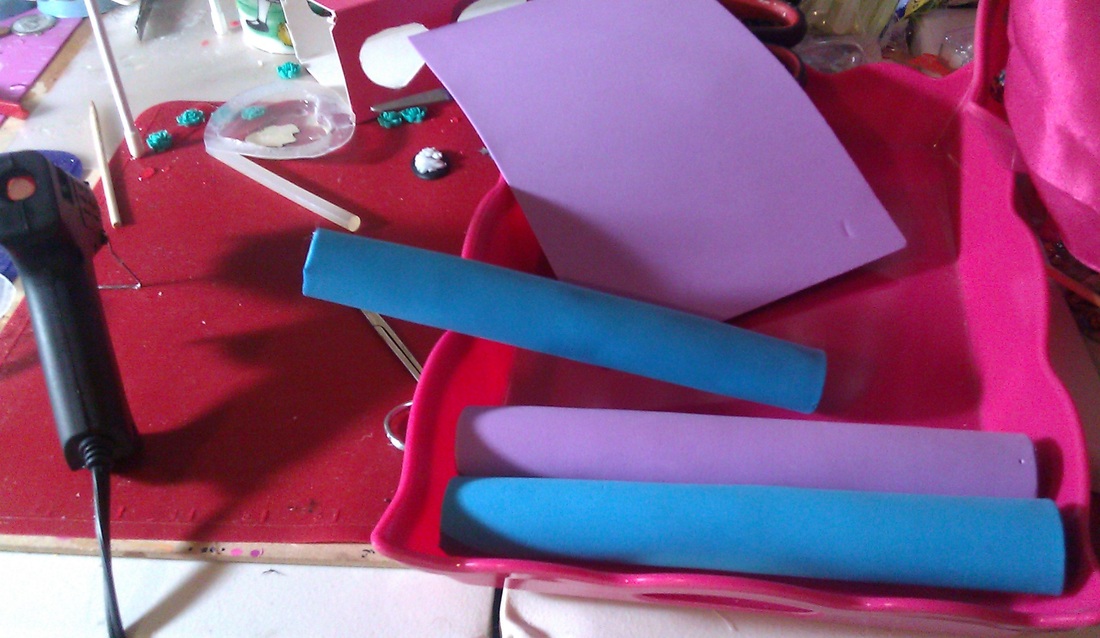
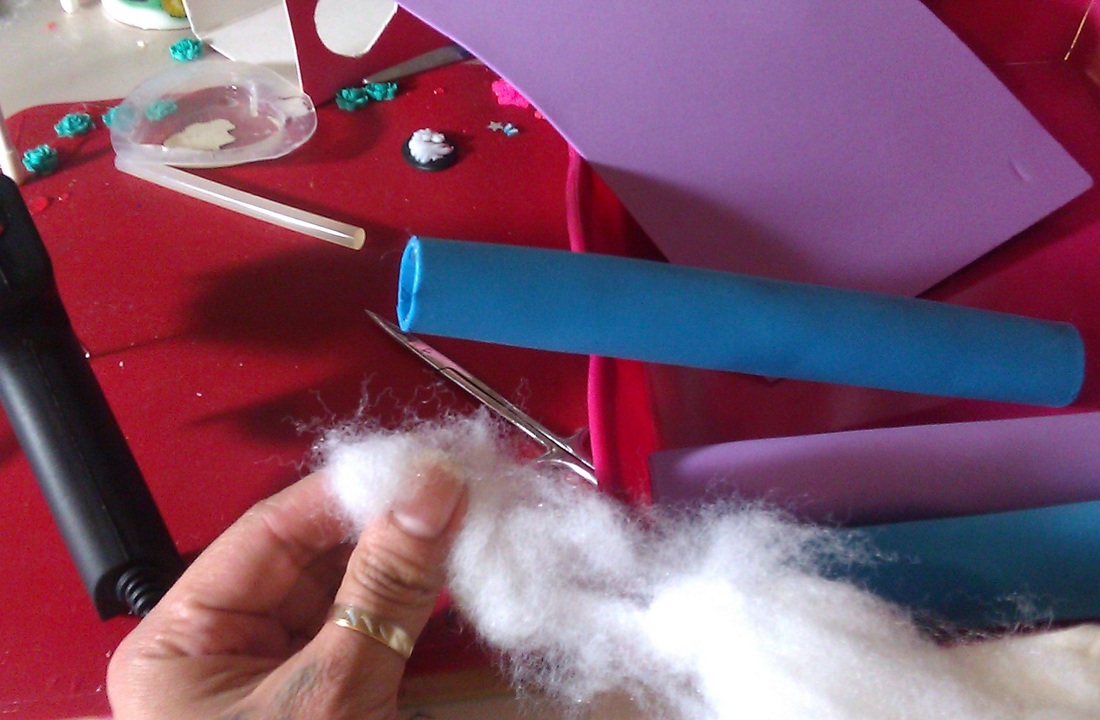
I separated a long strand of twine. I would have liked to have another thread, but didn't have anything at the time. You can try other threads if you like.

Picture

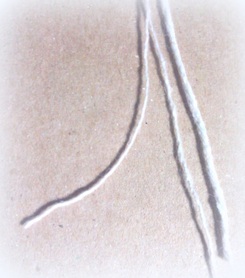
I found chain I wanted to use and braided the twine adding random beads along the way. I also had broken chain from another project that I linked together as well.

Picture

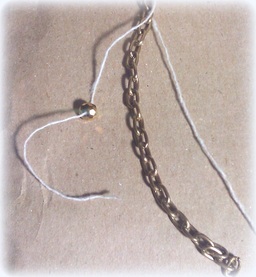
I drilled holes at the top of my finished pendant. I used a thin drill bit, and went straight through the back.

Picture

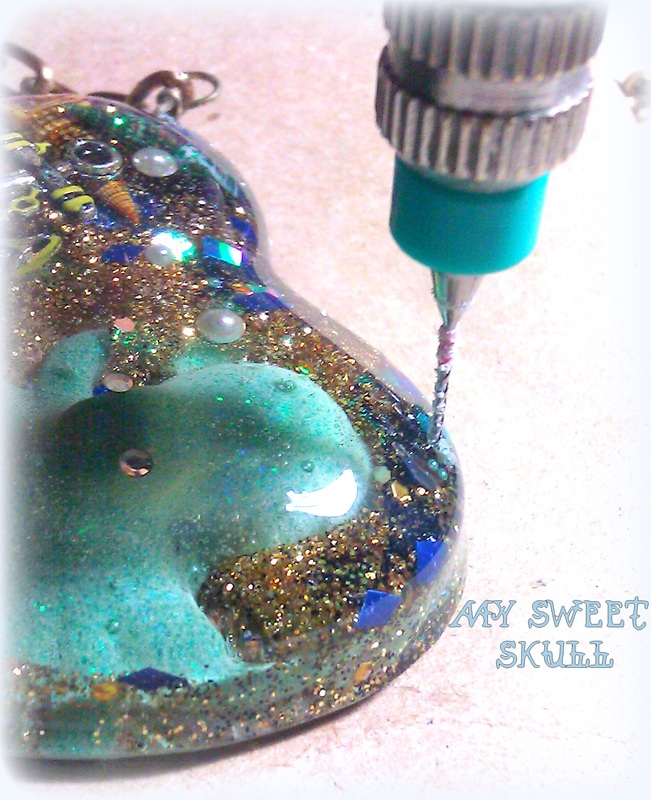
I used head pins through the drilled holes, then made a loop in the front to connect my chain. I will clean up the back of the pendant with a solid color resin, to hide my work and sanding.

Picture
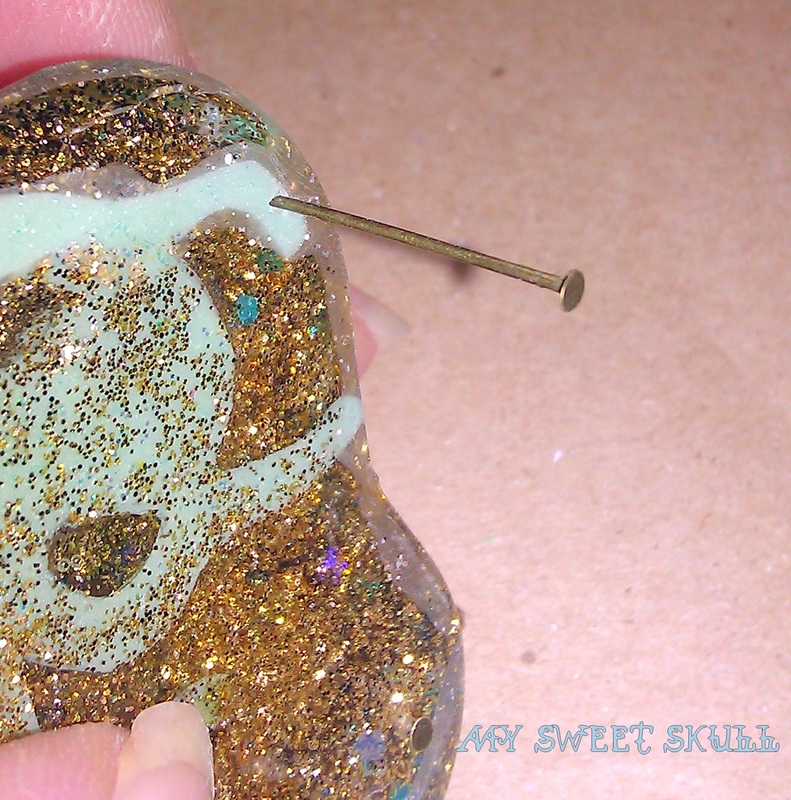
I really wanted to add more twine, I thought it would bring a fish net look to my sea themed piece. Maybe next time I won't unravel each strand. Live and learn, yes?
Picture
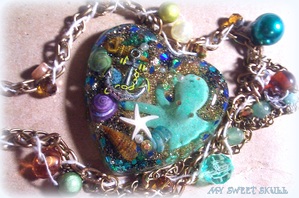
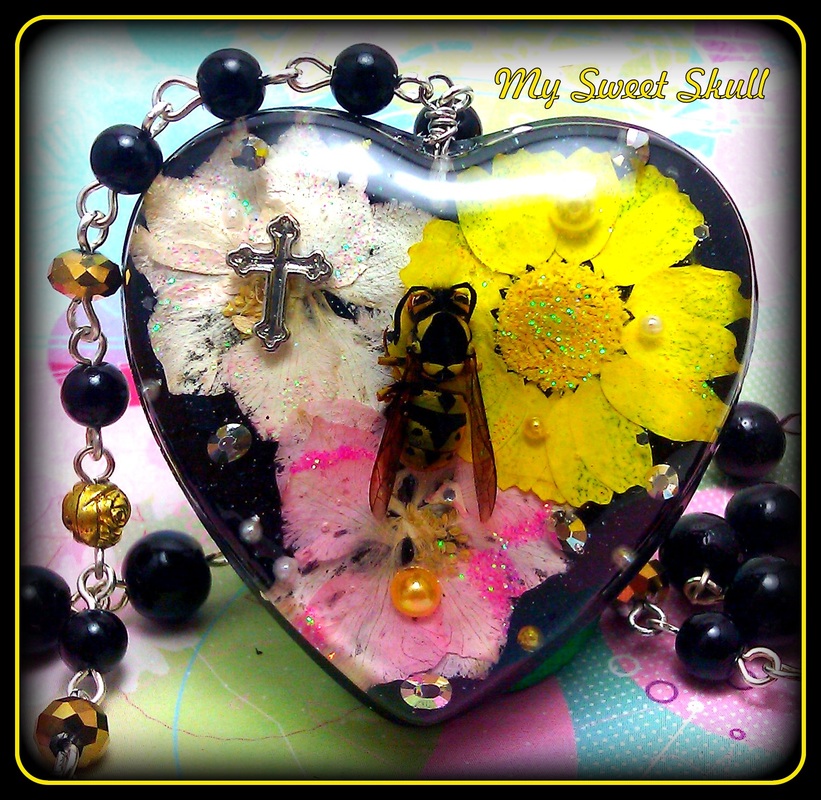
I wish the dimension showed more in the photo. Here is the finished piece. The octopus is a glittery sea green with foil like eyes. An anchor sits in the front and real sea shells mixed into the glittery gold sand. I might add extra twine. tonight. :0)

Love,
Razz
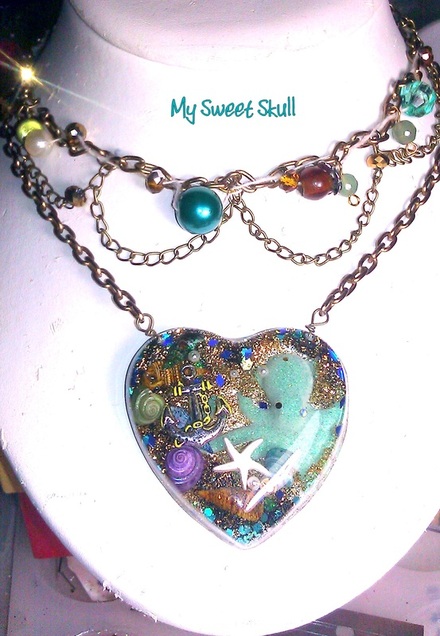
Picture
0 Comments

Making Earrings

9/20/2012

0 Comments

 
I like to share on Instagram, but I thought I would share here just for others who don't use the app on the smart phone.
I wanted to share how I created a skull flat back bead cabochon from a skull head. I purchased a skeleton at the Dollar Store. I took his head and sliced it down the middle with a razor blade. Usually I slice my finger, but luckily not this time! :0)
I then stuffed the hollowed skull head with clay, so that when I create a mold, I won't have air inside and make an odd shape. Instead of using silicone to create a mold, I used my vacuum former. I created a plastic see-through mold, perfect to make a smooth skull head!
The next day I popped out my skull head and added crystals over the eyes. I hate making bows, and dealing with ribbon. Nut Had to use some for her head onto these earrings! I really do love how they came out. I'm making a bunch now - and some are even for me to keep! :0)
Picture
Picture
0 Comments

4am Rambles

9/17/2012

0 Comments

 
I have been so busy lately! I did make it to Chicago last month to see Jack White at Lollapalooza! Yay me! I was so anxious to get there, I never been to Chicago. I had my eye on the weather and it was going to be a light 80 degrees! Boy was I wrong. Well, it was 82 degrees, but humid as Hell! When I came back home to Fresno, it was over 100 and felt the same! I was warned that it would be humid over there, but you never really know til you see for yourself.
Anyway, I ate Chicago pizza pie, the Chicago style hot dog, and stuffed my face with so much delicious food. I have proof on my Instagram! :0)

Halloween is next month, my favorite time of year! I have been contemplating on my Halloween costume. What should I be? Last year I created The Maitlands scary face outfit from Beetlejuice. I was so confident I would have won a first prize! But I lost to a few hoochies at a night club, and Bobafet at the bar around the corner. Haha, It was still so much fun! My friends were good sports, I even had Beetlejuice along with us! Well, this year I was thinking Edward Scissorhands. We'll see what happens.
Picture
Picture


I was browsing on Facebook and seen Alexa Westerfields post on a giveaway! I never try out for giveaways, but I like her blog, and thought I'd sign up. I also found really good links to other crafty gals friends of hers on Pinterest, Twitter, and Facebook. I love crafty sites to look at. I would rather look at crafty pages than to read posts from folks on my private page. Shhh! It's our secret! Would you like to take a look at The Give-away? Please, copy and paste the link into your web browser to sign up for a Nexus Tablet! http://swelldesigner.blogspot.com/2012/09/nexus-7-tablet-giveaway.html  OR click the GiveAway banner.
Good luck!
<3 Razz

0 Comments

A Proper Burial

4/23/2012

7 Comments

 
 On Easter, I am up quite early prepping for my visit to grandmas house. While I wait for lil sister to pick me up to ride together, I decide to pick up around the house. I go out to toss the trash and left the front door open, as I would step out for just a sec. Upon my quick return, I hear a loud buzzing. At my craft table, near the front door, is a wasp the size of Texas trying to get into the window blinds. After I scream bloody murder, my sister arrives and I dash out of the house leaving the wasp alone.
 I came home in the evening and had forgot all about that wasp incident. I get into fix a shower and notice the wasp on the bathroom floor, dead. What if I stepped on it?? I examined it, and before it was flushed into the toilet, I noticed how lovely it looked. She seemed to have beautiful almond shaped eyes, that looked half open. Well, I didn't want to flush her at all. I wanted to show off her beautiful colors, and give her a proper burial. 
 She was very soft, still very flimsy and delicate. I carefully put her onto a lid and let her sit over night.
Picture
 The next day, I start her new home. I started the resin pour, and gently lowered my wasp. I wonder if I moved her antennas upward, if they would have broke off? I didn't want to break her, so I left her alone. 

Picture

 I had a few dried flowers that I had saved for a few years. I being a craft hoarder, knew the day would come when I was going to use them. I lined the edge of the flowers with a light sprinkle of glitter.
Picture
Picture
I've also added some crystals and colored pearls, and a small silver cross. I didn't want a busy background, So I used black glitter.
Picture
 The final picture! I sanded the edges, and glazed this to a high shine! I hand beaded the chain using black and gold glass beads, and two rose shaped beads as well.
 The final resting place of the Wasp. :) Her beauty can always be admired.
-Razz
Picture
7 Comments

DIY Ring Holder

3/1/2012

3 Comments

 
 I had signed up for the Fresno Craft Bazaar which was last week. I knew I had to get on the ball and start creating my display. I had a bunch of new rings made and needed to show them off some way. Well, I seen the simple ones being sold at Michael's craft store. But I really wanted to have something more brighter, more colorful. I decided to create one with the things I had at home. If you would like to create one as well, it costs less than $7 from items at your dollar store. I had about a yard of fabric at home, but you can get some from the remnant section for about $2 at Wal-Mart or JoAnns, too.
 Items I used were:
a tray found in the dishes section,
colorful foam sheets,
glue gun with a pack of glue sticks,
fabric to cover each foam sheet,
scissors.
I started off rolling each foam sheet and gluing them shut.
Picture
I had found some fluffy pillow stuffing from one of my many unfinished projects, and decided to stuff them to be harder. This is optional, but I wanted to make them more firm.

Picture
I should have bought another pack of foam sheets at the dollar store. But when i started this project, it was well after 2 am, and I didn't want to wait to finish my ring holder! That being said, I searched my studio and found bubble wrap. I then rolled them up firm and hot glued them closed. But don't glue them into the tray yet! Let's cover them with some leftover fabric I had laying around my fabric case. I collect fabric, although my sewing machine has been in storage for over a year. Ha!
Picture
I then piled each foam in the tray to see if it would be too squishy, or check if the gap is too big. The ring fits perfect and now I'm ready to glue on my fabric. After I glue on my fabric, I glue the rolls right down into the tray.
Picture
I am happy with the turn out! I am happy to have created a bright colored ring display. By the way, I got compliments on my display the whole day at the craft show. I wish I had more pics of my display holding my jewelry, but I was so busy, I didn't get a chance! I also Left my phone at home and didn't get any good pics. I will get some next time. :0)
Picture
Picture
3 Comments

Good Resin Tutorial

2/3/2012

0 Comments


0 Comments

DIY Ring Holder

1/20/2012

0 Comments

 
This is a really cute idea for a rind display case. Mine was inspired by this project a year ago. Easy and pretty!
0 Comments

First Post!

1/10/2012

0 Comments

 
Ah! The first post, huh? Well, I've been up since 8:30am. I have been working on this web page all day, but started it ...hmmm... 3 years ago? I hope to publish it in two more days. It's 2:30 now. Maybe I should take a coffee break. If I take a break, I might not be back for another few years though. Decisions! I'll leave the computer on, maybe that will work. BRB...


...

...
0 Comments
Forward>>

     Razz ace

    Picture

    Jewelry Designer

    I create til my head crashes onto my pillow! Bird and cat lover, dreamer and loves books. I live in Central Valley, California.

    Archives

    December 2013
    June 2013
    May 2013
    January 2013
    December 2012
    September 2012
    April 2012
    March 2012
    February 2012
    January 2012

    Categories

    All
    2012
    2013
    Bee
    Bug
    Cant Sleep
    Concert
    Contest
    Craft
    Crafts
    Display
    Diy
    Funeral
    Giveaway
    Gramma
    Grave
    Hints
    Insect
    In The Making Of
    Music
    Ocean
    Octopus
    Process
    Rambles
    Resin
    Ring
    Rings
    Sea
    Skull
    Tutorial
    Vendor
    Wasp
    Winner

    RSS Feed

Powered by Create your own unique website with customizable templates.